Katharina Siegel-Rieck
Press relations Officer fischer fixing systems,
fischer Electronic Solutions
fischer Electronic Solutions
With the spring weather and plenty of time at home it can be tempting to spruce up your terrace. A stable and high-quality roof can provide protection against the elements. Once the job is complete you will be able to move your home office outdoors or enjoy your spare time outside in the sun and fresh air.
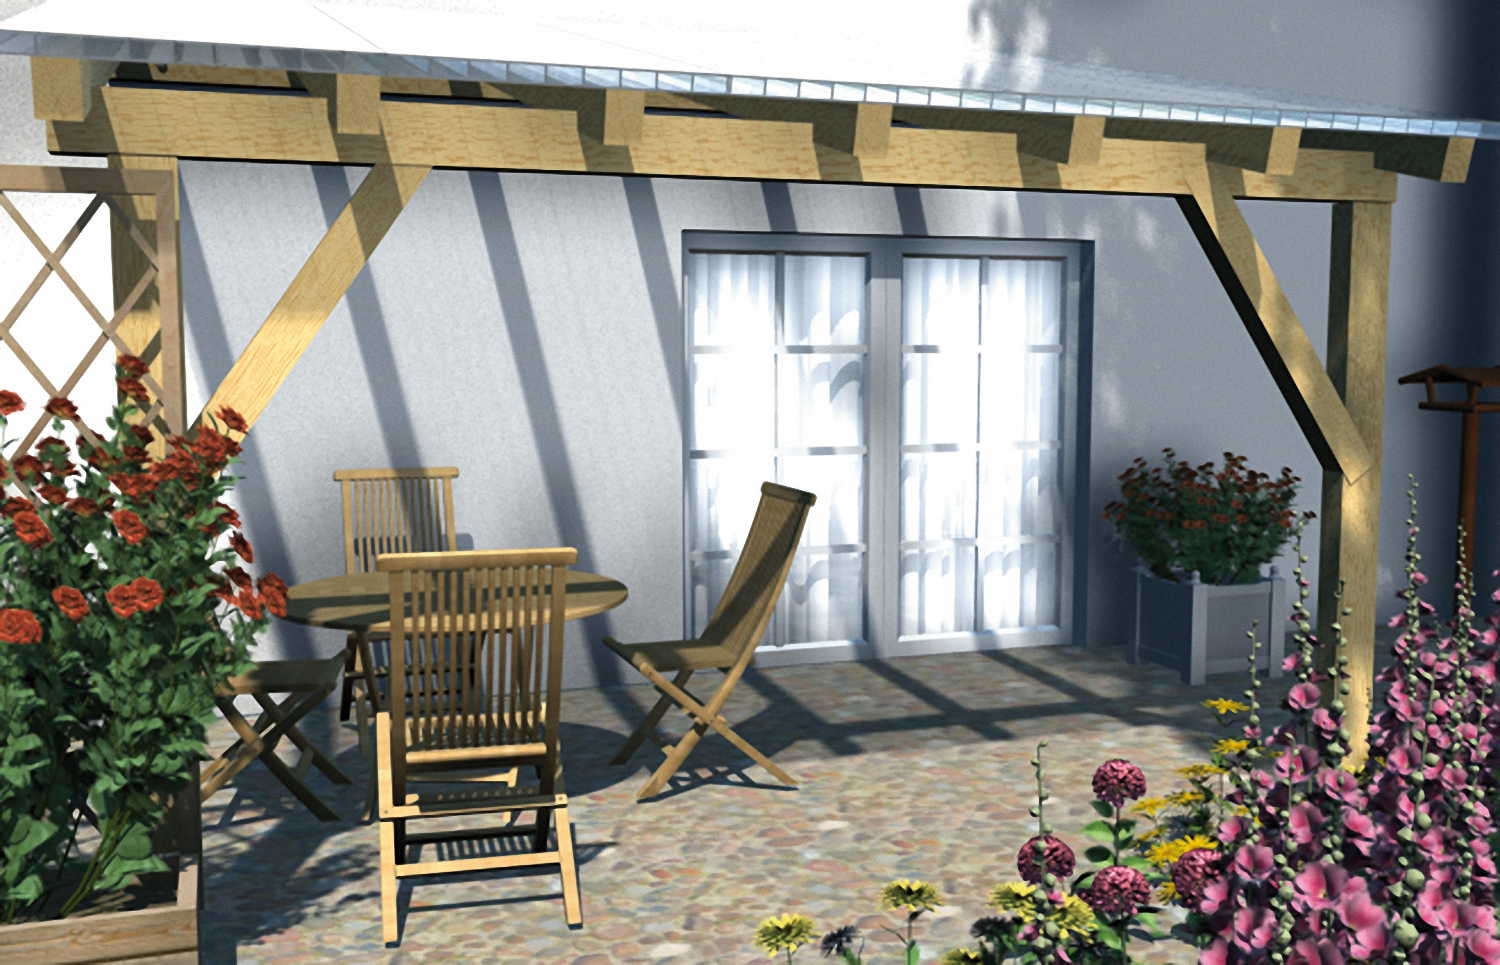
Stefan Huber, a master carpenter and fischer’s Technical Trainer, built his own terrace roof made of wood. “I wanted the roof to be as large and wide as possible to protect my facade in the lower storey from rain and snow”, he reports. The building area, depth and height of the construction will affect any potential planning permissions.
Stefan Huber’s roof is smaller than 30 square metres, which means it doesn’t require planning permission according to the State Building Code of Baden-Württemberg. But planning regulations may differ depending on the federal state and community. The safest method is to ask the relevant building authority whether your plans require approval and to submit a planning application where necessary.
To begin with the foundation is laid, which evenly distributes the construction’s load across the ground. Local wind and weather conditions should be taken into account in order to determine the loads and correct dimensions of the foundation. “If the house is located in the Black Forest, for instance, then you will have a snow load of approximately 260 kilogrammes per square metre, which is higher than by the North Sea, for example”, Stefan Huber explains. “But the North Sea is exposed to higher wind drag loads than the Black Forest. These kinds of factors will affect the foundation.”
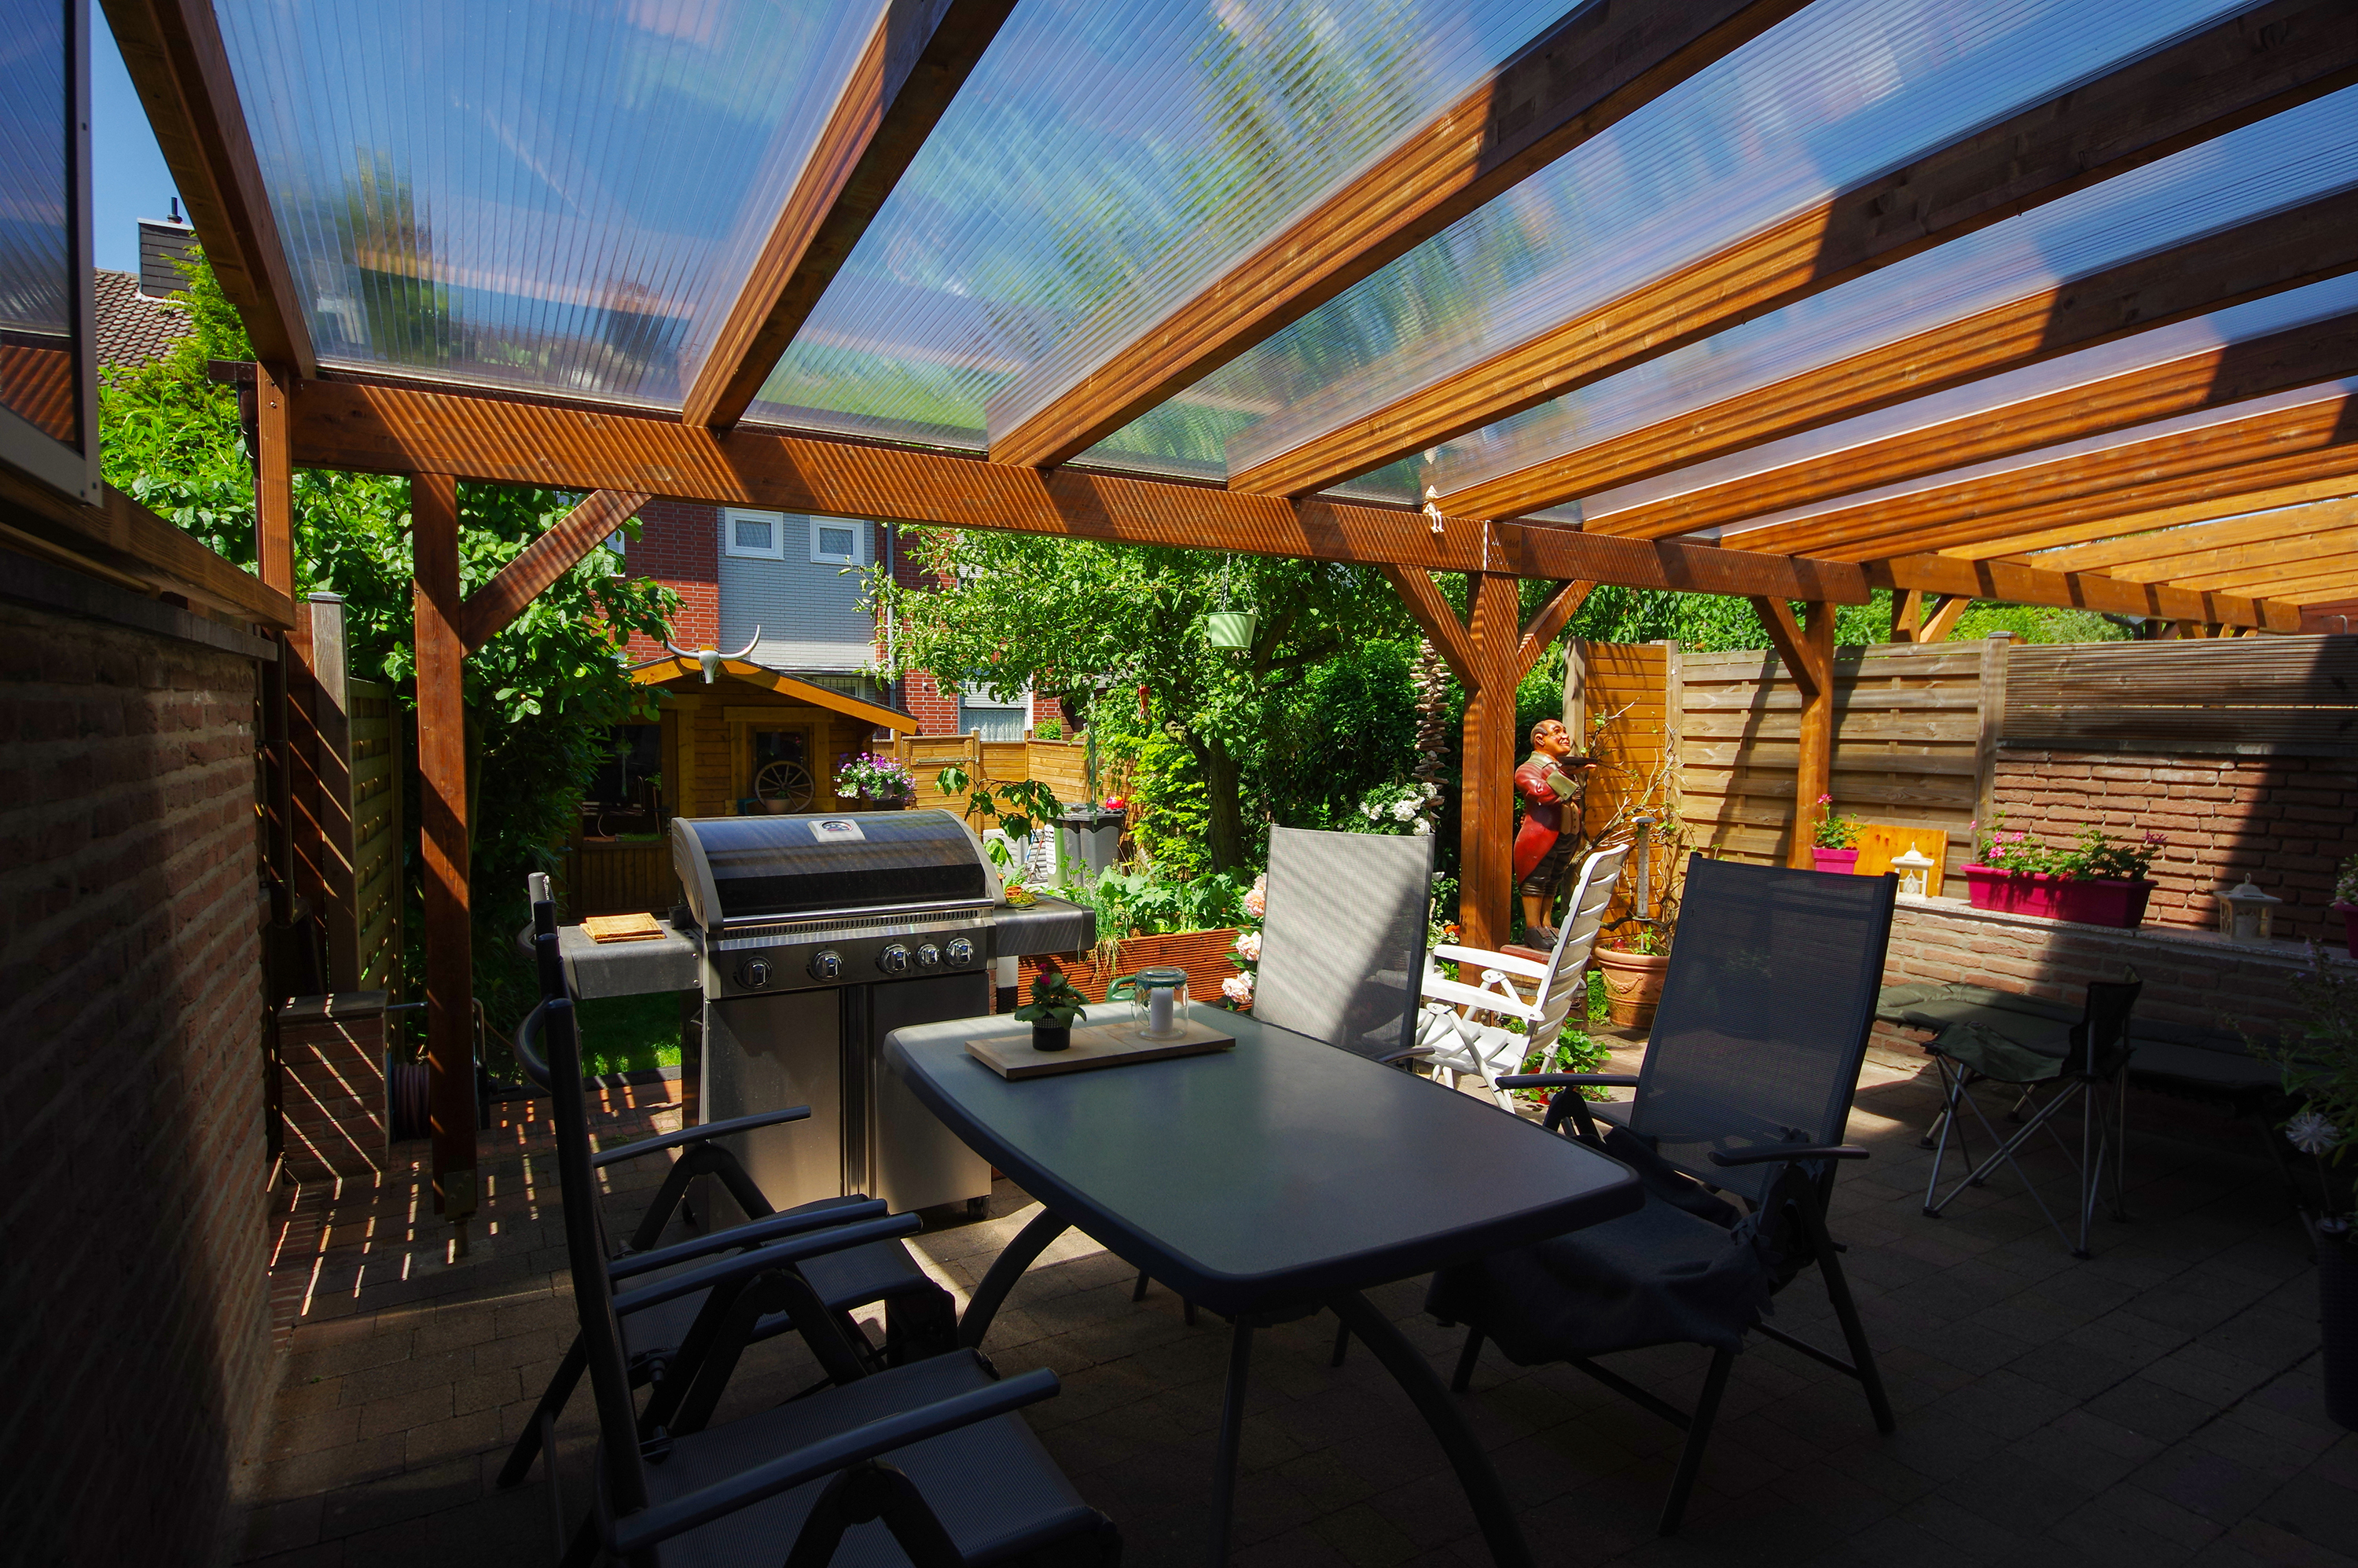
Class 2 wood should be used for terrace roofs. Stefan Huber’s first choice was glue-laminated timber (GL24h), which has a compliance certificate and guarantees fewer splits than construction timber. It also remains truer to size due to its multi-layered composition and weather-resistant adhesive which holds the board layers together.
There are opaque and transparent roofing variants. Laminated glass, for instance, allows daylight and solar heat to shine through to the rooms located behind the roof. If the glass shatters then the splinters stay stuck to the adhesive foil contained within the glass.
DIYers can connect the main beam and/or secondary beam using full thread screws as follows: If the rafter connects to the front side of the eaves purlin as a secondary beam, a full thread screw is inserted at a 45-degree angle. This provides a self-supporting connection that guarantees tensile strength under full load. The wood post can be connected to the foot of the post with fischer’s approved steel sheet connection screw and can be inserted close to the edge without causing the wood to splinter. There is no need for predrilling. There is another connection point between the wall purlin and the main rafter, which flat head screws are commonly used for. In comparison to nails, flat head screws provide the rafter with more contract pressure and offer higher wind load resistance.
One of the most important main connections on Stefan Huber’s house is the main wall purlin, which is connected to the main framework through the wooden frame and the external wall insulation. Stefan therefore recommends: “Use a flat head screw to align the wall purlin and then use a full thread screw”, before adding “you can find the recommended spacing in the ETA. Mark the distance for each fastening point and then insert the full thread screw at an angle of 45 degrees. When load is applied, it will now be subject to tensile load”.
In case of any further questions users can contact the fischer Application Engineers through the live chat feature in the fischer Professional App or by phone.